Happy Horsey Pop Up Birthday Card - How to.

As promised and long overdue. Apparently time is the only truly finite resource and efficiencies are only used up by other things which eat this resource with alarming relish. And that means you Internet!
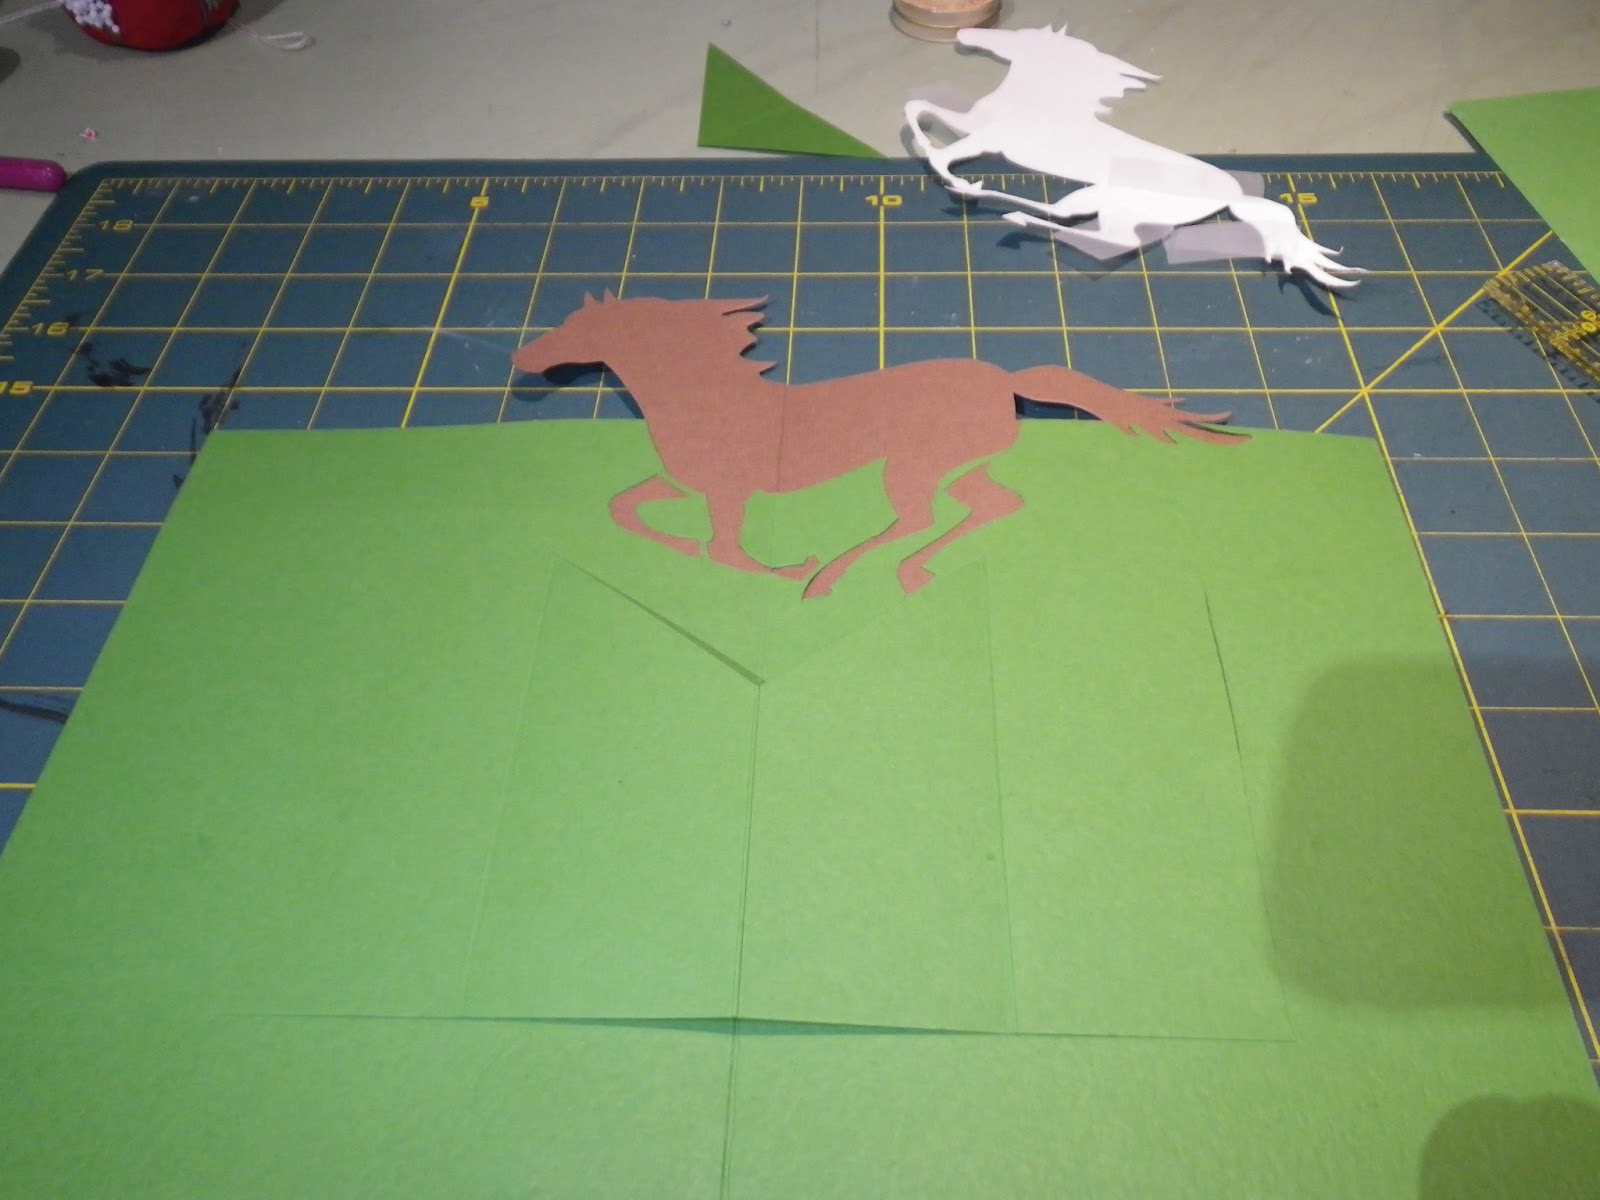
So this is what we are aiming for. I created this how-to from this photo, as the card itself is long gone, so forgive any errors on my part and refer frequently to this photo to keep on track.
Supplies:
Horse image from the internet. Copyrighted Stock Image There are plenty to choose from. The cutting might actually be easier if the legs are open.
Cardstock: 2 12 x 12 pieces or enough to complete card. Enough extra to cut horse image twice. You should have enough of the inside cardstock left to make all the mechanisms.
Glue, scissors, Xacto knife, basic card crafting tools.
Step 1.: Find an image your wish to use. Trace the outline of the image onto card stock to use as a template.

Step 2: Cut one green sheet of card stock to 7 1/2" x 12". Score down the center of the 12" length.
Step 3: Score down the center of the darkest brown full card stock sheet.
Step 4: Line up the center score line of the green and brown sheets. Ignore the cut out bit of the brown sheet. I used one that had enough left to get the card front out of. If you can do the same thing great.

Step 5: Pick the center point of the image template and use a removable tape to align it with the center line of both cards. Position the image so that part is on the brown card stock and part is on the green cardstock.
Step 6: Trace around the image and mark the top edge of the green paper onto the brown.

Step 7: Cut out the image. Cutting away the non-image from the brown card stock and cutting the image away from the green card stock. In the green be careful to cut attachments to the pieces that would fall away if you cut completely around them specifically the spaces created where the legs meet. It also creates a little detail to add a line between the two back legs. Refer to the images.

Step 8: Fold both outer and inner card sections and glue together being sure to line up the centers, bottoms and sides.
Step 9: Cut a green piece of card stock about 7 3/4" by 4 1/2". Score in the center and then again 2" from the center on each side keeping all the scores parallel to one another. The center score is folded upwards and the two outer folds are folded downwards.

Step 10: Cut the upper corner at the fold out of this piece about 1 1/2" down and to the top of the outer fold. This allows this piece to sit closer to the central top horse.

Step 11: Glue this piece to the card as shown. Keep all the vertical folds parallel.
Step 12: Cut two v-fold box mechanisms as shown in the following photos. The first diagram shows how to score each 2" by 2 1/4" piece of green card stock.


 |
| The mechanism as shown is upside down. The bottom tabs are at the top. |
Step 13: Fold the mechanism in half and fold both bottom tabs outward. Glue one tab down at an angle with the folded edge at a downward fold on the added piece of green card stock.

Step 14: Watch this video to see how to finish gluing down the mechanism and attach the horse.
Step 15: The front of the card. Cut a horse shoe shape out of gold mirror paper or whatever metallic paper you prefer. Double up the elements that appear at the bottoms of the horseshoe and at the middle. Separate with pop dots for dimension. Add your greeting over the horseshoe. I used a nice typewriter paper and I inked it with Distress Ink in Vintage Photo for a more rustic look.


Hi there I absolutely love this card but I am having a problem. I just cant seem to figure out the cutting of the image on the brown and green paper. Could you possibly do a video of this step Please
ReplyDelete